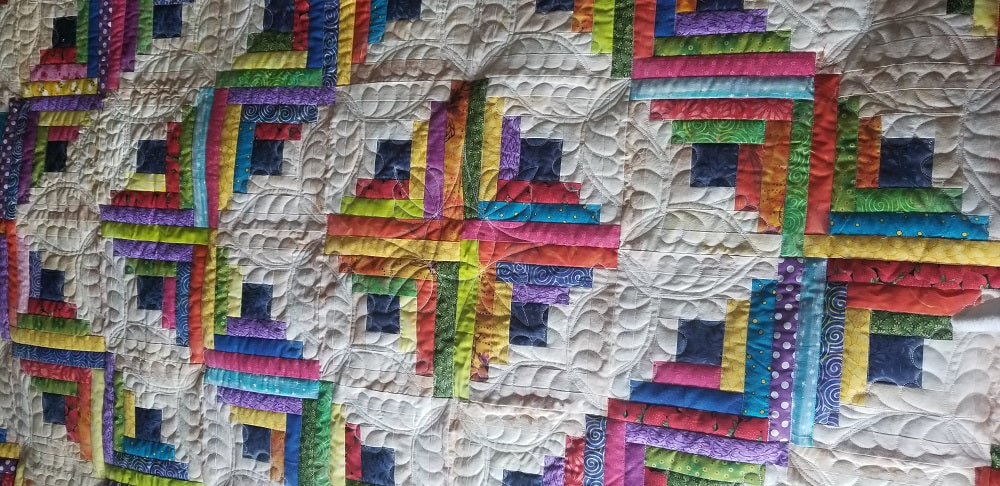
A major design element all quilters want to master is feathers! You can do so much with a simple quilt by incorporating feather designs. Let’s just say that if you want your creation to have vivid textures and visual appeal, don’t forget to include a couple of easy feather quilting designs. With some practice, you will ace those beautiful flowing feathers. You may even use quilting stencils to make your task more convenient.
We would recommend that you don’t start right away with the longarm machine. Spend some time practicing the designs on paper with a pencil, a graphic design tablet will also serve the same purpose. Once you get comfortable drawing the design element with hands, consider yourself ready to create them on your quilt!
Usually, two methods are used to create easy feather quilting designs, and, while some quilters may consider one method to be more comfortable than the other, it is best that you decide only after trying out both the methods a couple of times.
Method 1
In the first method, you create each feather plume individually. You start by drawing the spine with a water-soluble ink. This helps you avoid backtracking over the spine and the thread build up is also minimal. Always begin with the base of your feather spine, the feather plumes you create should be trailing up to the spine’s right side. Upon reaching the spine’s top, stitch all the way back down following the line you drew. Once again trail up but on the left side creating plumes in similar manner. This time, when you reach the top don’t forget to put one joining plume at the center for closing the feather.
Method 2
Draw your spine with water soluble ink and start at the base to create a plume. Upon reaching the plume’s base, don’t backtrack, instead push your stitching outward, away from your first plume and create another one. Then, backtrack over the bump of the plume and bump one more time for creating the next plume. Bumping over each plume will help you eliminate backtracking and thread build up. On reaching the spine’s top, trail back down the already marked line to create the stitched spine. Trail back up on the spine’s left side in the same manner. Close the design by placing a couple of small feathers at the top.
Spend some time practicing, and in no time, you’ll be creating heirloom quilting designs with feathers. Your quilt borders are as essential as the center, so, checkout our quilting stencils for borders apart from feather quilting stencils!